1 December 2024
Upgrading your gaming PC can feel like trying to solve a Rubik's cube while blindfolded—especially if it’s your first time. But here’s the thing: It doesn’t have to be that way. With the right preparation and a little patience, upgrading your hardware can be a fun, rewarding experience that gives your rig the power it needs to run the latest games without a hitch. Ready to take the plunge?
In this article, we’ll walk you through how to safely upgrade your gaming PC’s hardware. We’ll cover everything from selecting the right components to ensuring you don’t fry your system in the process. So, grab a coffee (or energy drink, whichever you prefer), and let’s dive in.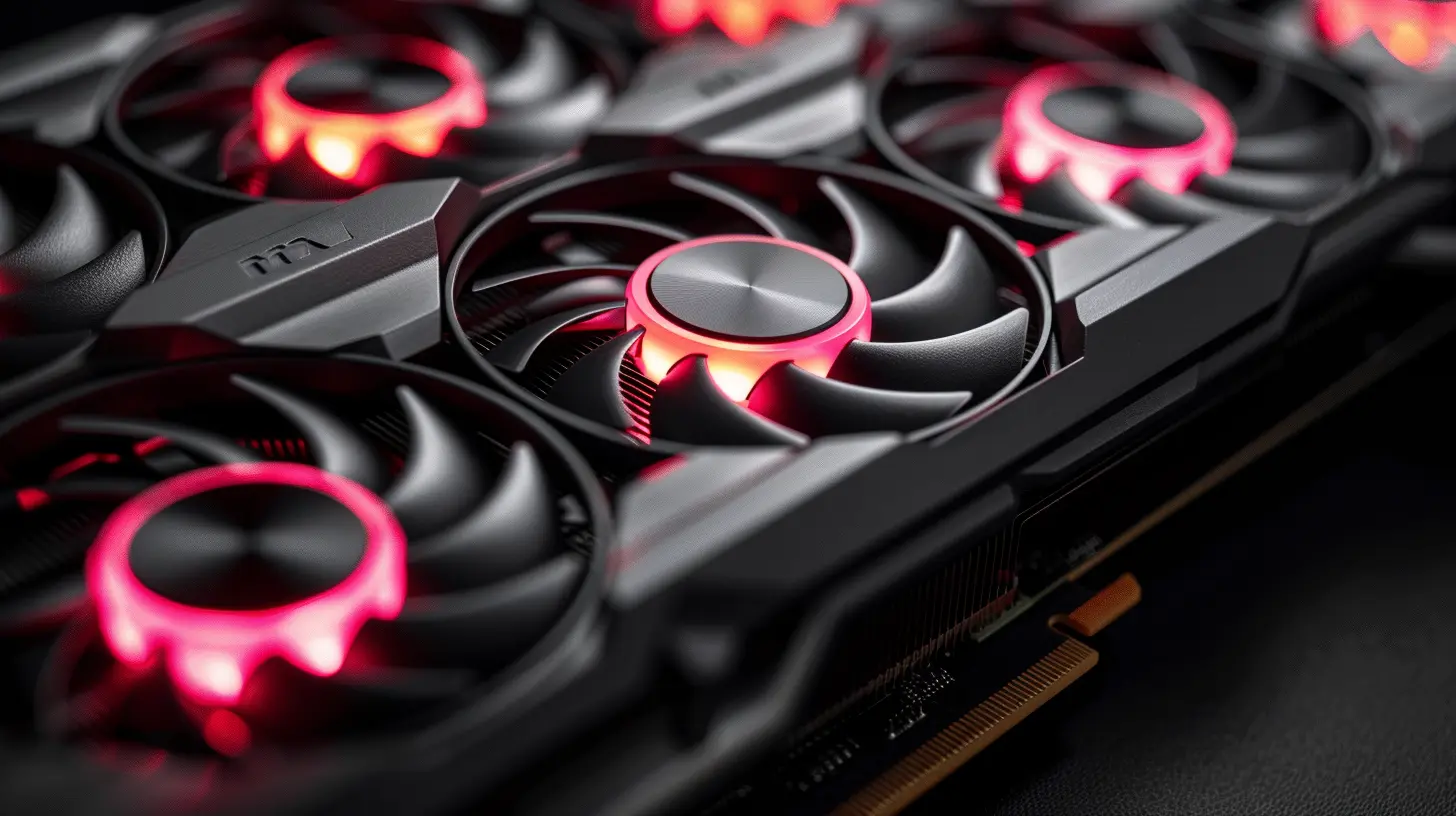
Why Upgrade Your Gaming PC?
Before we get into the nuts and bolts of upgrading, let’s address the obvious: Why bother upgrading your gaming PC in the first place?1. Better Performance
Let’s be real—nobody likes lag. Whether you’re trying to hit a headshot in Call of Duty or explore vast open worlds like Cyberpunk 2077, a stuttering frame rate can ruin the experience. Upgrading key components like your GPU or RAM can give your system the boost it needs to run games smoothly at higher settings.2. Future-Proofing
Games aren’t getting any less demanding. By upgrading now, you’re essentially future-proofing your system. This ensures you can continue to enjoy the latest titles for years to come without constantly worrying about meeting the minimum system requirements.3. Customization
For some, upgrading isn’t just about performance—it’s about personalization. Maybe you’ve got a PC case that’s begging for some RGB lighting, or perhaps you want a beefier cooling system to keep things quiet during those marathon sessions. Upgrading gives you the freedom to make your rig truly your own.
Planning Your Upgrade
Before you start unscrewing your case and ripping out components, take a moment to plan. Trust me—this step will save you a ton of headaches down the line.1. Assess Your Current System
First things first, you’ll need to figure out what you’re currently working with. Open up your PC and take note of your hardware: CPU, GPU, RAM, motherboard, power supply, and storage. You can also use software like CPU-Z or HWMonitor to help identify your components without physically opening your case.Ask yourself:
- Is my CPU bottlenecking my performance?
- Is my GPU struggling with newer games?
- Do I have enough RAM to multitask efficiently?
Knowing where your system is lacking will help you prioritize your upgrades.
2. Set a Budget
Upgrading your gaming PC can get pricey fast, especially if you’re eyeing top-tier components. Set a realistic budget before you start shopping. Remember, it’s not always about buying the most expensive part—it’s about finding the right balance for your needs.3. Check Compatibility
This is a big one, folks. Not all hardware plays nice together. Ensure that the components you plan to buy are compatible with your existing system. For example:- Motherboard Compatibility: Does your motherboard support the CPU and RAM you want to install?
- Power Supply: Is your PSU powerful enough to handle a more demanding GPU? (Pro tip: Aim for a PSU with at least 80 Plus certification for efficiency).
- Physical Space: Will the new graphics card fit in your case? Some GPUs are massive!
Essential PC Components to Upgrade
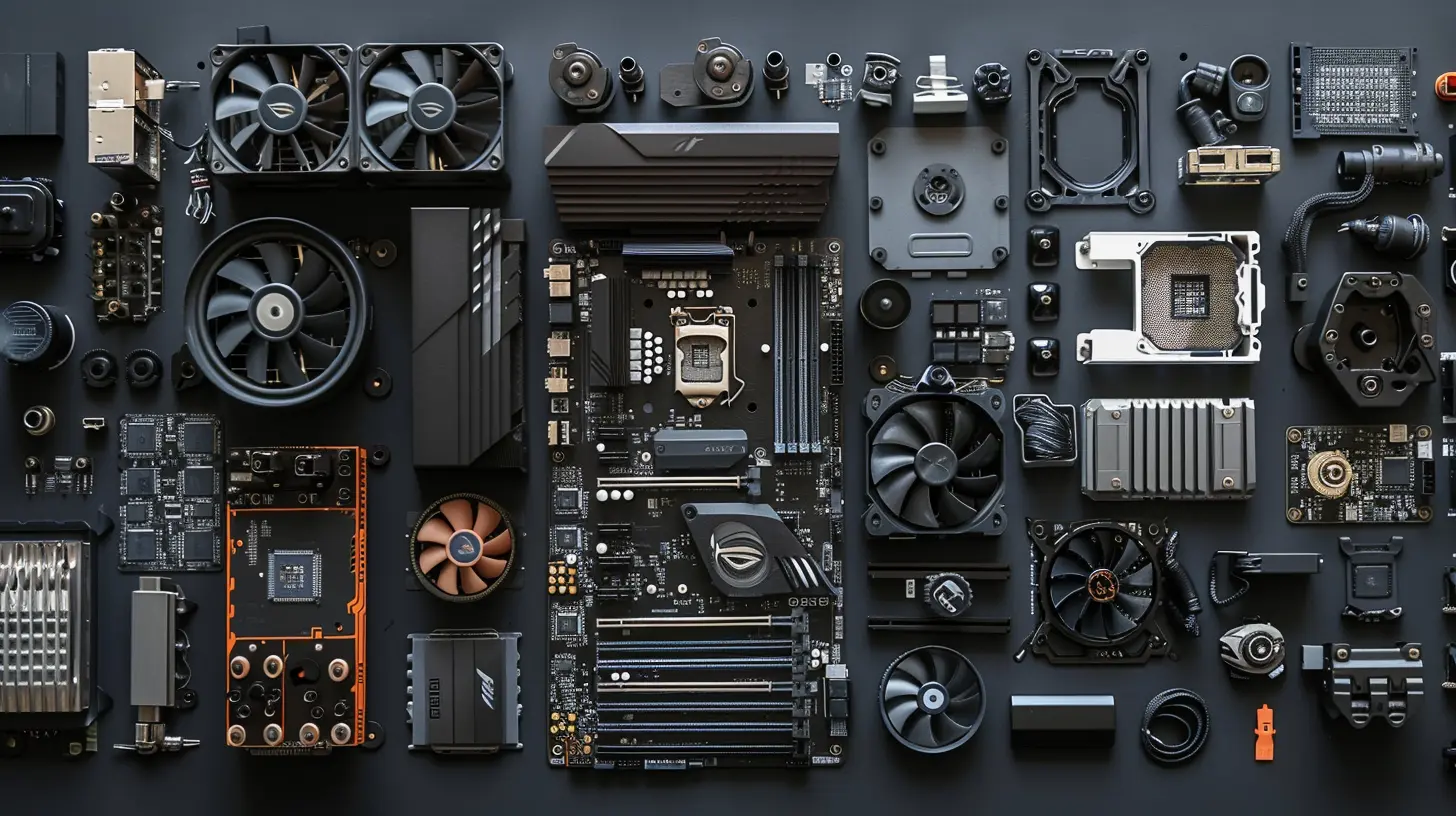
Let’s break down the key components you’ll likely consider upgrading and what to look for when shopping for new hardware.1. Graphics Card (GPU)
If you’re a serious gamer, this is probably the first upgrade on your list. The GPU is the heart and soul of any gaming PC, and upgrading to a more powerful model can make a world of difference.What to Look For:
- VRAM: Look for a GPU with at least 6GB of VRAM for 1080p gaming or 8GB+ for 1440p/4K gaming.- Ray Tracing & DLSS: Many newer cards, like NVIDIA's RTX series, come with features like ray tracing and DLSS, which can significantly improve graphics quality and performance.
- Cooling: Make sure your case has enough airflow to keep your new GPU cool, especially if you’re pushing it hard.
2. Processor (CPU)
While the GPU does most of the heavy lifting in gaming, your CPU also plays a crucial role—especially in CPU-bound games like Civilization VI or Total War: Warhammer.What to Look For:
- Cores & Threads: Look for a CPU with at least 6 cores and 12 threads for modern gaming.- Clock Speed: A higher clock speed can improve single-threaded performance, which is essential for some games.
- Socket Type: Ensure your new CPU is compatible with your motherboard’s socket.
3. RAM (Memory)
More RAM allows your system to handle multiple tasks simultaneously and can help reduce stuttering in games.What to Look For:
- Capacity: 16GB is the sweet spot for gaming in 2023, but if you’re also doing video editing or streaming, 32GB might be worth considering.- Speed: Faster RAM can improve performance in certain games and applications, so aim for at least 3200MHz if your motherboard supports it.
4. Storage (SSD/HDD)
Do you still have an old mechanical hard drive in your gaming rig? If so, it’s time to upgrade to an SSD. Trust me, the difference in load times will blow your mind.What to Look For:
- SSD vs. HDD: SSDs are faster but more expensive. For gaming, a 1TB SSD is a good starting point.- NVMe SSDs: If you want blazing-fast speeds, consider an NVMe SSD. They’re pricier but can significantly reduce load times in games.
5. Power Supply (PSU)
Upgrading to more powerful components means they’ll need more juice. Don’t overlook your power supply!What to Look For:
- Wattage: Calculate the power requirements of your new components. Use an online PSU calculator to ensure your power supply can handle the upgrade.- Efficiency: Look for a PSU with an 80 Plus rating for better energy efficiency. Bronze, Silver, Gold, or higher—go with what fits your budget.
How to Safely Install Your New Hardware
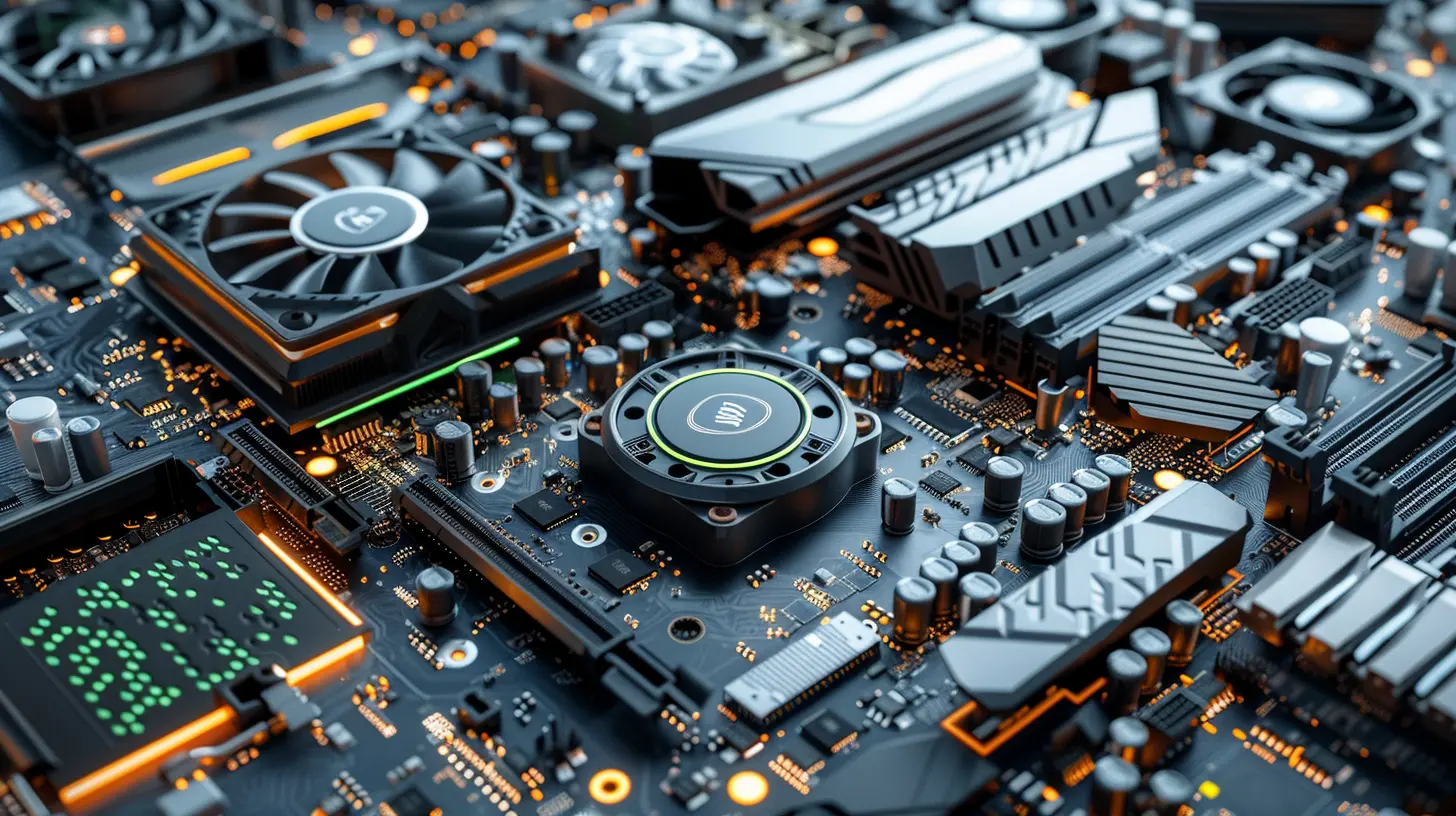
Now that you’ve picked out the perfect components, it’s time to install them. This part can be nerve-wracking if you’re new to PC building, but don’t worry—we’ve got your back.1. Ground Yourself
Before you touch anything inside your PC, make sure you’re grounded. Static electricity can fry sensitive components. You can either wear an anti-static wristband or simply touch a metal object to discharge any static buildup.2. Turn Off and Unplug Your PC
This is crucial. Before you start, turn off your PC and unplug it from the wall. You don’t want any power running through the system while you’re working on it.3. Remove the Old Components
Carefully remove the components you’re replacing. For the graphics card, you’ll need to unscrew it from the back of the case and release the PCIe latch. For RAM, gently push down on the retention clips to release the sticks.4. Install the New Components
Now, install your new hardware:- For the GPU: Insert the new card into the PCIe slot, ensuring it’s fully seated before securing it with screws.
- For RAM: Align the notch on the RAM stick with the slot and press down firmly until the retention clips click into place.
- For the CPU: If you’re replacing the CPU, carefully align the CPU with the motherboard socket. Don’t forget to apply thermal paste (unless your cooler already comes with it) before installing the cooler.
5. Reconnect Everything
Once your new components are installed, reconnect any necessary cables. Make sure all your power cables are properly seated, especially for your GPU and motherboard.6. Test Your System
Before you button everything up, turn your PC on to make sure it boots. If everything works, congratulations—you’ve successfully upgraded your gaming PC! If not, don’t panic. Double-check your connections and consult your motherboard manual for troubleshooting tips.Post-Upgrade: Optimizing Your System
After installing new hardware, there are a few additional steps you can take to ensure everything runs smoothly:1. Update Drivers
Make sure to download and install the latest drivers for your new hardware, especially for the GPU. This ensures compatibility with the newest games and optimizes performance.2. Monitor Temperatures
Use software like HWMonitor or MSI Afterburner to keep an eye on your system’s temperatures. If your components are running too hot, consider adding more case fans or upgrading your cooling solution.3. Run Benchmark Tests
Finally, run some benchmark tests to see how much your performance has improved! Tools like 3DMark or Cinebench can give you a good idea of how your system stacks up after the upgrade.Conclusion
Upgrading your gaming PC’s hardware doesn’t have to be rocket science. With a little planning, the right tools, and some patience, you can give your rig a new lease on life. Whether you’re chasing higher frame rates or preparing for the next wave of AAA titles, the satisfaction of a successful upgrade is hard to beat.So, what are you waiting for? Time to roll up your sleeves and start upgrading!





Corin McGonagle
Upgrading your gaming PC's hardware can enhance performance, but always ensure compatibility, follow anti-static precautions, and back up important files before starting.
February 9, 2025 at 6:05 AM